
Refractory Dryout and Heat-Up: The 36 Hours That Decide Your Lining's Life
Installation · Dryout · Commissioning · Castables · 12 min read
Draft — pending technical review. Figures are sourced but not yet signed off for publication.
A castable lining can be perfectly specified, perfectly mixed and perfectly placed, and still be destroyed in its first eight hours of firing. Here is what is physically happening during cure and dryout, why steam is the enemy, and how to read a heat-up schedule instead of guessing at one.
A cement-bonded castable is mostly stone, some cement, and a small amount of water that has to leave again. Cure sets the cement. Dryout removes the water. Get either wrong and the lining you paid for is already damaged before it does a single hour of useful work — usually invisibly, showing up three months later as spalling that gets blamed on the material.
The short version: cure it wet and warm for at least 24 hours, then take the temperature up slowly with holds around 110 °C and 350 °C long enough for steam to escape through an open, unsealed surface, and never let the ramp outrun the water's ability to get out. Everything below is why.
Why steam, not heat, is what breaks a new lining
Water in a freshly placed castable exists in three forms, and each leaves at a different temperature:
Figure 1 — three kinds of water, three exits
Where each fraction of the water leaves
°C
- Free water in the pores — the bulk of it, and the dangerous stage100–200 °C
- Chemically bound water in the cement hydrates, released in steps200–600 °C
- Structural water in some aggregates — material-specific600–900 °C
Heat the lining faster than the free water can escape and the water turns to steam inside a still-closed pore structure. Steam is not gentle: at around 370 °C (700 °F), saturated steam pressure is in the order of 3,000 psi — vastly beyond the tensile strength of any castable. The lining does not "dry out" at that point. It explodes off the wall in slabs, or, more insidiously, develops a network of microcracks that survives the commissioning report and halves the campaign.
Figure 2 — the force you are racing
Saturated steam pressure against temperature
This is why dryout schedules look so slow to an operations team under shutdown pressure. The ramp is not there to protect the cement. It is there to stay ahead of the steam.
Figure 3 — the 36 hours
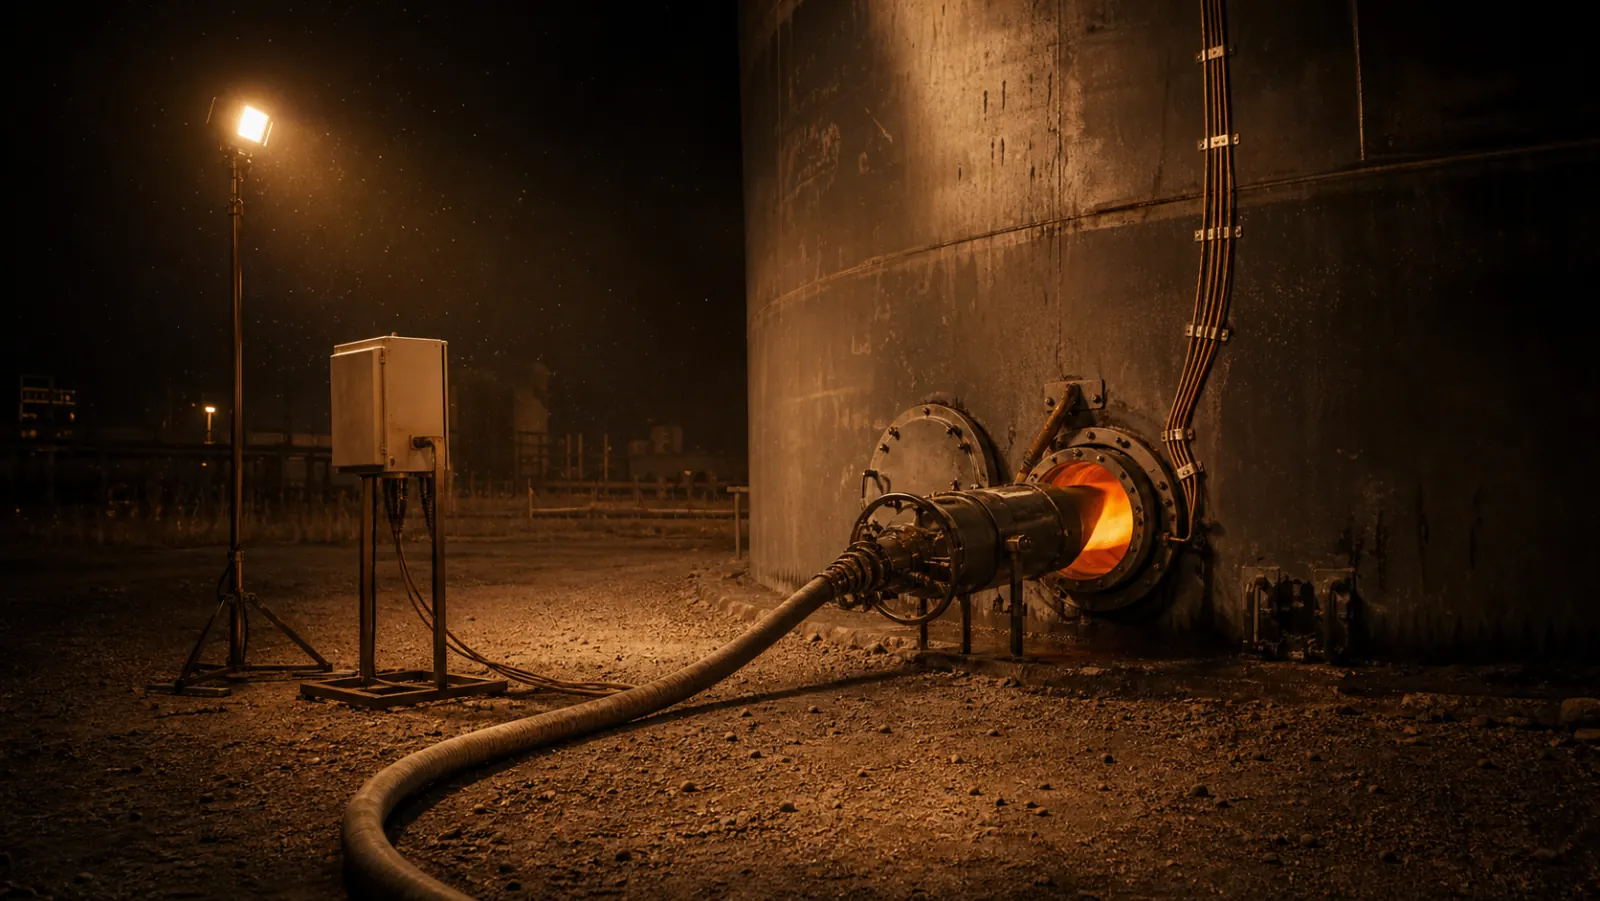
A temporary dryout burner, rigged into a manway
Stage 1 — Cure: the step most often skipped
Curing is the hydration of the cement bond. It needs water present and a sensible temperature, and it needs time.
- Keep it wet. Cover the lining with polythene, or damp hessian under polythene, immediately after placing. Air-drying a fresh castable in Ahmedabad's summer or in front of a fan does not "get a head start on dryout" — it starves the cement of the water it needs to hydrate and leaves you with a weak lining and the same amount of water to remove.
- Ambient temperature matters. The commonly recommended curing range is about 21–32 °C (70–90 °F). Below roughly 21 °C, hydration slows and the result is lower strength, lower permeability and longer cure times. Lower permeability is the hidden trap: a lining that cured cold is harder to dry out safely, so cold curing and an aggressive ramp is the worst combination on this page.
- Give it the hours. As a general rule, conventional cement-bonded castables need on the order of 24 hours of cure at moderate temperature before dryout; low-moisture and high-cement formulations are often released earlier, in the region of 16 hours. Manufacturer datasheets vary and they govern. What is not negotiable is that published dryout schedules assume a properly cured lining. Cutting the cure short does not save time; it moves the risk into the dryout, where the consequence is spalling rather than delay.
- Formwork. Strip only when the datasheet allows, and remember that formwork left in place is a vapour barrier during the early dryout.
Low-cement and ultra-low-cement castables behave differently from conventional ones here — they contain less water but their pore structure is finer, so they are less forgiving of a fast ramp, not more. Never carry a conventional castable's dryout schedule across to a low-cement mix because "it has less water in it."
Stage 2 — Dryout: the shape of a real schedule
Manufacturer schedules follow one of two models: a continuous ramp at a single steady rate, or ramp-and-hold, where temperature is raised, held for a period to let a water fraction escape, then raised again. Ramp-and-hold is the more common and the more forgiving for thick monolithic linings; schedules can run to 36 hours or more and typically take the lining to somewhere around 350–400 °C before service heat-up begins.
The shape of a typical ramp-and-hold dryout looks like this:
Figure 4 — shape, not specification
A ramp-and-hold dryout, drawn out
| Step | Typical practice | Purpose |
|---|---|---|
| Ramp to first hold | A controlled rate, commonly in the 25–50 °C/h band | Warm the mass without boiling the surface |
| First hold, around 110–150 °C | Hold, commonly scaled to lining thickness | Remove free water — the critical step |
| Ramp to second hold | Same order of rate as above | Begin releasing bound water |
| Second hold, around 300–400 °C | Hold | Remove chemically bound water from the hydrates |
| Ramp to service temperature | Per equipment and process limits | Sinter/ceramic bond development |
A widely used field rule of thumb is to scale hold time to lining thickness — holds are lengthened for thicker sections, because the water at mid-thickness has further to travel. Thick, dense, low-permeability sections are the ones that blow.
Two honest caveats. First, the rates and hold durations above are the shape of common practice, not a specification: the actual numbers must come from the datasheet for the specific product, the lining thickness, and the vessel. Second, precast shapes and pumped or shotcreted linings generally need longer schedules than field-cast linings of the same material — one published figure puts the onset of spalling risk in precast pieces as low as around 290 °C (550 °F). When in doubt, slower is free; a reline is not.
The instrumentation problem: you are probably measuring the wrong temperature
The most common way a "correct" schedule gets executed incorrectly is by controlling on the wrong number.
- Air temperature is not lining temperature. Furnace atmosphere during dryout can run substantially hotter than the refractory surface — figures of the order of 30–55 °C (50–100 °F) hotter are reported. Control on refractory surface temperature, not on the burner's air thermocouple, or your real ramp is far steeper than your chart.
- Place thermocouples in the cold and slow spots too, not only where it is convenient. The schedule has to be satisfied by the last area to dry, not the first.
- Watch flame geometry. An off-centre or impinging burner flame during dryout produces local overheating that no averaged reading will show. Centre the flame and give it space.
Ten things that quietly ruin a dryout
- Excess mix water. This is where the damage often starts. Reported figures put the penalty at roughly 20% strength loss for 1% excess water, and 25–40% for 1.5% excess. Every extra litre is also extra steam to remove later.
Figure 5 — the cheapest mistake to avoid
Strength lost to excess mixing water
- Sealed surfaces. Coatings, paints, membranes or a metal skin applied over a lining that has not been dried trap water and turn the pore network into a pressure vessel.
- Blocked weep and vent holes. Vent holes are the designed escape route for steam. Check they are open before firing — including after any repair or patching work that may have filled them.
- Insulating blankets left on during heat-up. Well-intentioned and destructive: they cause local temperature spikes and shift the gradient.
- A short cure. Covered above. Retained water plus reduced strength.
- Cold or monsoon-wet placement. Cold curing lowers permeability; very high ambient humidity extends everything. In Indian conditions, plan monsoon shutdown dryouts with more time, not the same time.
- Restarting the schedule from where it stopped. If a burner trips for hours, the lining has cooled and re-absorbed nothing, but its temperature profile has changed — resume conservatively rather than jumping back to the step you were on.
- Averaging across zones. One dryout schedule for a vessel with 75 mm and 300 mm sections dries neither correctly.
- Skipping the second hold because "the water is out." Bound water from the cement hydrates is released well above the boiling point, in stages. The second hold exists for that.
- No record. If nobody logged the actual curve, the next failure cannot be diagnosed, and the material will get the blame by default.
One vendor analysis attributes more than 70% of premature castable lining failures to incorrect water addition, inadequate vibration, or a rushed heat-up that caused steam damage. Treat the exact percentage with the caution any vendor statistic deserves — but the three culprits it names are the right three, and all three are free to get right.
What about plastic refractories, mortars and fibre?
Figure 6 — not all commissioning risk is steam
What each material actually needs on first firing
| Bond water to remove | Vent holes | Steam spalling risk | Binder burn-off | Thermal shock limit | |
|---|---|---|---|---|---|
| Cement-bonded castable | Cement-bonded castable · Bond water to remove: The governing constraint | Cement-bonded castable · Vent holes: The governing constraint | Cement-bonded castable · Steam spalling risk: The governing constraint | Cement-bonded castable · Binder burn-off: Not applicable | Cement-bonded castable · Thermal shock limit: Real |
| Low-cement castable | Low-cement castable · Bond water to remove: Real — less water, but a finer pore structure — less forgiving, not more | Low-cement castable · Vent holes: The governing constraint | Low-cement castable · Steam spalling risk: The governing constraint | Low-cement castable · Binder burn-off: Not applicable | Low-cement castable · Thermal shock limit: Real |
| Precast shape | Precast shape · Bond water to remove: Real | Precast shape · Vent holes: Minor | Precast shape · Steam spalling risk: The governing constraint — spalling reported from as low as ~290 °C | Precast shape · Binder burn-off: Not applicable | Precast shape · Thermal shock limit: Real |
| Plastic refractory / ramming mix | Plastic refractory / ramming mix · Bond water to remove: Real | Plastic refractory / ramming mix · Vent holes: Real | Plastic refractory / ramming mix · Steam spalling risk: Real | Plastic refractory / ramming mix · Binder burn-off: Minor | Plastic refractory / ramming mix · Thermal shock limit: Minor |
| Mortar in brick joints | Mortar in brick joints · Bond water to remove: Minor | Mortar in brick joints · Vent holes: Not applicable | Mortar in brick joints · Steam spalling risk: Real — a thick joint behaves like a small castable section | Mortar in brick joints · Binder burn-off: Not applicable | Mortar in brick joints · Thermal shock limit: Minor |
| Ceramic fibre | Ceramic fibre · Bond water to remove: Not applicable | Ceramic fibre · Vent holes: Not applicable | Ceramic fibre · Steam spalling risk: Not applicable | Ceramic fibre · Binder burn-off: The governing constraint | Ceramic fibre · Thermal shock limit: Not applicable |
| Calcium silicate | Calcium silicate · Bond water to remove: Not applicable | Calcium silicate · Vent holes: Not applicable | Calcium silicate · Steam spalling risk: Not applicable | Calcium silicate · Binder burn-off: Real | Calcium silicate · Thermal shock limit: Minor |
- Not applicable
- Minor
- Real
- The governing constraint
- Plastic refractories and ramming mixes contain water too and still need a controlled dryout, with vent holes commonly required in thicker sections. Because they are placed by ramming rather than flowing, they are typically denser and less permeable than a cast section — do not assume a plastic lining is more forgiving on heat-up than a castable.
- Mortars dry with the brickwork, but joints laid too thick behave like small castable sections and will spall out of the joint if the heat-up is rushed.
- Ceramic fibre and calcium silicate carry no bond water of this kind, so their commissioning constraint is not steam — it is binder burn-off and, for fibre, avoiding damage from gas velocity before the module surface has stabilised. Different problem, different schedule.
What to send us before a dryout
If you want a schedule reviewed rather than copied off the internet:
Figure 7 — before the burner lights
The dryout review pack
We would rather tell you your window is too short before the burner lights than diagnose the spalling afterwards.
The lining
What already happened
What you will fire it with
We would rather tell you that your window is too short before the burner lights than diagnose the spalling afterwards.
FAQs
How long does refractory dryout take?
For a typical cement-bonded castable lining, cure of around 24 hours followed by a dryout that commonly runs from several hours to 36 hours or more, depending on thickness, material and vessel. Thick, dense, low-cement sections take the longest. The controlling factor is lining thickness and permeability, not vessel size.
Can I skip curing and go straight to dryout?
No. Published dryout schedules assume a cured lining. Firing an uncured castable combines low strength with maximum retained water — the exact condition in which steam spalling occurs.
What temperature does steam spalling happen at?
The risk window opens as free water starts boiling, from around 100 °C, and is most severe through the first hold and the ramp above it. Reported spalling thresholds for precast pieces run as low as about 290 °C. The pressure available to do the damage rises steeply with temperature — around 370 °C, saturated steam pressure is on the order of 3,000 psi.
Do vent holes really matter?
Yes, and they are among the cheapest insurance on a lining. They are the designed path for steam out of a thick or low-permeability section. Blocked or omitted vents concentrate pressure inside the lining, which is precisely the failure mechanism the schedule is trying to avoid.
Is a faster heat-up acceptable on a lining that has already been in service?
A re-heat after a shutdown is a different problem from a first dryout — the bond water is long gone. But thermal shock limits still apply, and any patched or newly repaired area is a fresh castable with a fresh dryout requirement, on the same schedule as if the whole lining were new.
Who should perform the dryout?
Whoever it is, they should be working from the material manufacturer's schedule for the products actually installed, controlling on refractory surface temperature, logging the curve, and empowered to hold or slow the ramp without asking permission. A dryout run by a burner contractor to a generic curve, with no material data, is a common and expensive root cause.
Anuj Traders supplies refractory castables, plastic refractories, mortars, brick, ceramic fibre and calcium silicate insulation from Ahmedabad, as an authorised dealer and distributor for Calderys, Unifrax and Shubh Ceramics. If you have a shutdown coming up, send us the lining details and we will review the cure and dryout plan against the products being installed.
Products referenced
Sources
- Safeguarding Refractory Installation: 12 Vital Steps to a Flawless Dry-Out — Heat Treat Today: https://www.heattreattoday.com/equipment/heat-treating-accessories/insulation/insulation-technical-content/safeguarding-refractory-installation-12-vital-steps-to-a-flawless-dry-out/
- Dryout Schedule Guidelines — Resco Products: https://www.rescoproducts.com/resources2/articles/dryout-schedule-guidelines
- Curing and Dryout of Refractories — HWI: https://thinkhwi.com/curing-dryout-refractories/
- Important Considerations for Refractory Dryouts, Startups & Shutdowns — Brimstone STS: https://brimstone-sts.com/wp-content/uploads/2015/11/04V11-Jenkins-Considerations-for-Refractory-Dryouts.pdf
- What Ceramic Manufacturers Need to Know about Dryout of Refractory Castables — Ceramic Industry: https://www.ceramicindustry.com/articles/97227-what-ceramic-manufacturers-need-to-know-about-dryout-of-refractory-castables-for-kilns-and-furnaces/
- Installation of Monolithic Refractory and Resulting Properties — Becht: https://becht.com/becht-blog/entry/installation-of-monolithic-refractory-and-resulting-properties/
Keep reading